RSS Feed

February, 2010

    Kelas Asas Decoupage April 2018

    BungaTelur.com akan mengadakan kelas untuk mempelajari teknik decoupage di atas pinggan seramik/cermin kayu. Semua bahan akan disediakan. Hasil kerja boleh dibawa balik.

    Jadual kelas adalah seperti berikut:

    Tarikh: 29 April 2018, Ahad

    Masa: 2:00 - 5:00 petang

    Yuran: RM80

    Tempat: Puchong (lokasi akan diberitahu kepada peserta yg serius)

    Terhad kepada 6 peserta

    Sesiapa yang berminat, sila email ke [email protected], atau sms/wa ke nombor 012 6482121 untuk maklumat lanjut. Peserta digalakkan membuat tempahan awal kerana tempat adalah terhad.

    Untuk melihat contoh decoupage yang dihasilkan oleh peserta kelas sebelum ini, sila lawati http://news.bungatelur.com atau laman Facebook BungaTelur.com

  1. Decoupage Bottle Christmas Theme

    February 25, 2010 by admin

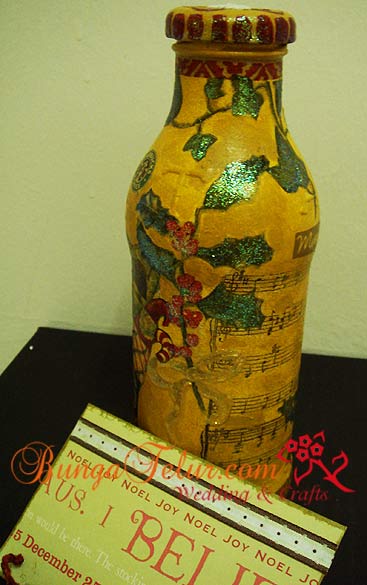
    I decoupaged this bottle for a craft contest last year. The theme is Christmas and 1Malaysia. The problem was I have no idea how to implement the 1Malaysia into the submission article, and of course I didn’t win..heh! It never occur to me to put the 1Malaysia logo anywhere on the bottle or inside it..huhu!
    tazodcpge

    However doing this decoupage project gave me the chance to try many new materials and techniques. First, I learned on how to clean up the Tazo Tea bottle..(available at Starbucks at RM10.90 per bottle)

    Some people soak their bottles in water and later scrub the labels. I tried that but it didn’t really clear up the whole label glue. Hubby suggested to rub the leftover label glue with eraser. It did work fine but I feel that it was too much work and time consuming..huhu!

    The best way is to use lighter fluid..(any brand like Zippo will do) Pour a bit on kitchen towel or directly on the leftover glue from the bottle label and scrub the glue out. After that wash your bottle with water and soap. Let dry.

    I also used Plaid Glitter on this decoupage project. The effect is quite subtle and I think it suited the whole concept of this Earthy Christmas theme.

    I hope I will have more time and effort to participate in any craft contest this year. From time to time, it’s good to challenge yourself to something new.
  2. Bunga Dulang Dip

    February 15, 2010 by admin

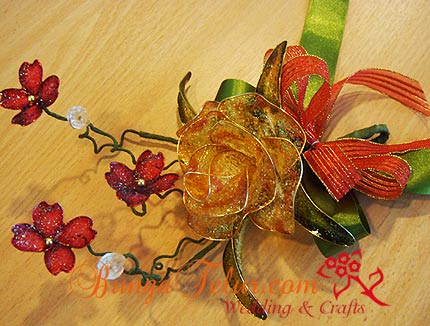
    This is the demo set for bunga dulang mini I made for my February bunga dip class. Actually this is the second one I made after I lost the first set. I was not sure whether any of my students took the first demo bunga dulang but since I have to have one to show to upcoming students, I quickly made one the night before the last class.

    dipmini

    Basically by doing this bunga dulang mini in my class, you will be able to learn on how to make the filler flowers (bunga kecil), the rose and how to combine those flowers to be a bunga dulang.

    After you master the basic technique, you can add on as many filler flowers, more leaves and main roses to make a bigger and grander bunga dulang dip for your gubahan hantaran!

    Check out my latest announcement for the coming class if you are interested to learn on how to make your own bunga dip for your wedding. The seats are limited and participants are on first come first serve basis.


  3. Glitter Effect On Decoupage Items

    February 4, 2010 by admin

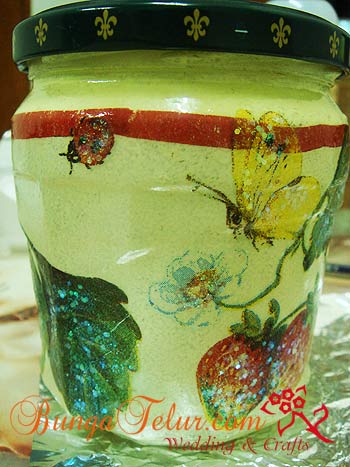
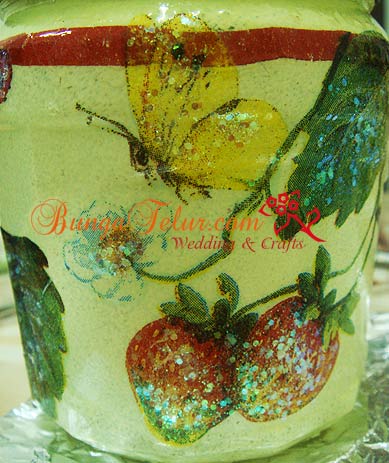
    I have decoupaged this bottle about 2 years ago. It was originally a strawberry jam bottle. I used paper napkin with strawberry and butterfly motifs to decoupage it.

    opaldust1

    A few months ago, while shopping for craft items in Art Friend, The Gardens, I bought a bottle of Plaid Folkart glitter glue. I used that on my submission items for a craft contest (will write about that later). However the effect of the glitter was quite subtle.

    opaldust2

    Another shopping trip to Craft Haven in One Utama made me buy a bottle of Opal Dust from Jo Sonja. Since I didn’t have time to do new decoupage, I decided to apply the Opal Dust on this jam bottle. Before that I applied Glaze Medium and Gloss Varnish (both from Jo Sonja) on the bottle. Then I applied the Opal Dust on the strawberries and butterfly motifs.

    Overall, I am quite happy with the glitter effect after using Jo Sonja Opal Dust as the opal dust is quite big and sparkly. I applied another layer of the opal dust after I finished varnishing the bottle since the bottle will only be used as decoration.