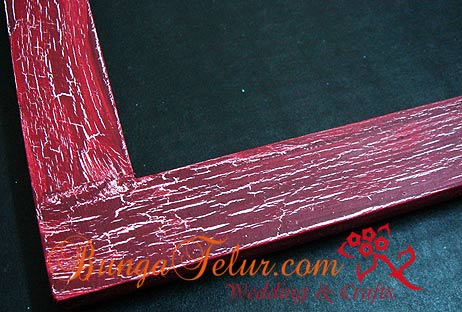
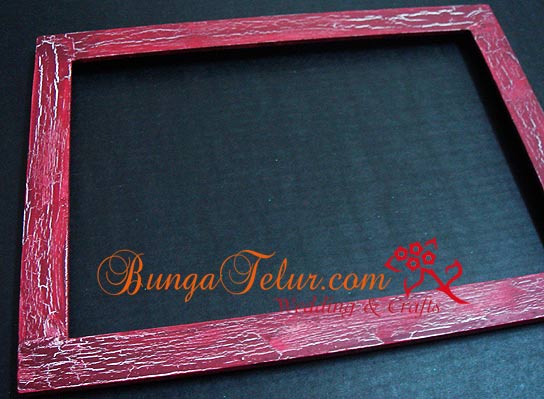
I finally get it right! After many trial and error, I managed to get the crackle effect I would say that I am happy of. The bottom coat was white gesso. The frame was from IKEA. I sanded, applied sealer and painted with gesso before I used the Plaid Crackle Medium.

After reading some online tips and watch Youtube on how people apply crackle medium, I tried to follow as much as possible. The crackle medium was applied using thick brush, some in zig zag while some in straight line. If you apply the crackle medium thinly, you will get fine crack. If you apply it thickly, you will get a big crack. I let it dry for almost 2 days before I applied the topcoat in Burgundy Red.

The topcoat has to be applied at one go. Never stroke your brush too many times over the place that you have painted before otherwise the crackle effect will turn out bad…(based on my experience, I lost the effect of crackle since I stroked the topcoat over and over the same spot too many time..huhu)
The crackle medium will react with the pigment of the topcoat that you apply on. Some says to use a branded acrylic paint such as Americana (not a cheapo brand) as topcoat to make sure you get a good crackle effect. And another tips to remember, metallic paint won’t work as a topcoat on crackle medium. It is also best that you use a brush that fits the size of the project surface so that you don’t have to stroke on the same place many time.

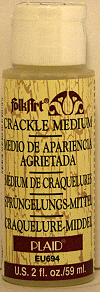
For those who wonder how the Plaid Crackle Medium looks like, here is the picture. I bought a bottle in Art Friend, The Gardens. I have used Jo Sonja crackle medium before but it didn’t work that well. Maybe my techniques were not right at that time..heh! I will try again and will write an entry if my experiment is successful.
I will update with the varnished version of the frame later. I hope the tips above will be helpful for those who want to try doing crackle effect on their painted projects.
