RSS Feed

2010

    Kelas Asas Decoupage April 2018

    BungaTelur.com akan mengadakan kelas untuk mempelajari teknik decoupage di atas pinggan seramik/cermin kayu. Semua bahan akan disediakan. Hasil kerja boleh dibawa balik.

    Jadual kelas adalah seperti berikut:

    Tarikh: 29 April 2018, Ahad

    Masa: 2:00 - 5:00 petang

    Yuran: RM80

    Tempat: Puchong (lokasi akan diberitahu kepada peserta yg serius)

    Terhad kepada 6 peserta

    Sesiapa yang berminat, sila email ke [email protected], atau sms/wa ke nombor 012 6482121 untuk maklumat lanjut. Peserta digalakkan membuat tempahan awal kerana tempat adalah terhad.

    Untuk melihat contoh decoupage yang dihasilkan oleh peserta kelas sebelum ini, sila lawati http://news.bungatelur.com atau laman Facebook BungaTelur.com

  1. Tatting

    June 7, 2010 by admin

    I was reading a fellow crafter’s blog when I saw a pretty butterfly she tatted. I’ve never heard about tatting before so I browsed and read through whatever I could find online about tatting.

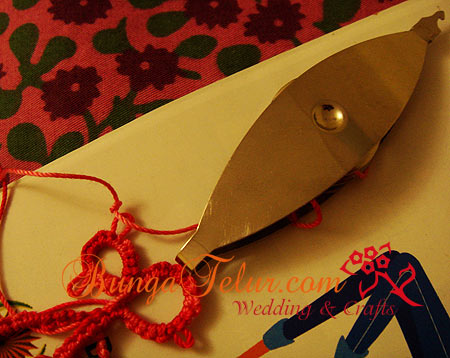
    First of all, you need to have a tatting shuttle. So a trip to Art Friend the other day made me bought a shuttle by DMC. Later I found out that there is another shuttle brand Clover sold at Maycraft. The shop is located in Taipan USJ. Will be visiting the shop one of these days..heh!
    tattingshuttle

    The funny part was once I bought the shuttle and a ball of thread, I have no idea how to wind the thread onto the bobbin. It took me the whole night to figure out that you can actually push the bobbin from the middle of the shuttle out, wind the thread and push it back inside the shuttle..huhu!

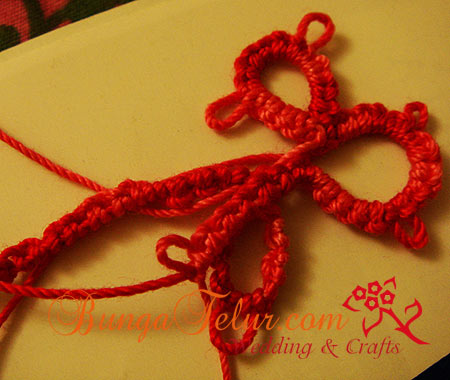
    And it took me another 2 days to figure out how to do the basic of double stitch, a picot and a ring.
    tatting1

    Somehow it is harder when you are self taught. I usually will go for a basic class for any new art and craft that I want to learn. It is easier when you have an instructor to ask every time some doubt or confusion arises.

    Despite that I am thankful that there are many tatters out there who are willing to share via blog and videos on Youtube. I hope once I have mastered the basic techniques of tatting, I would be able to share in this blog so that other beginners in tatting will not waste so much time like I did learning the basic.
  2. Agar-Agar Kering

    May 27, 2010 by admin

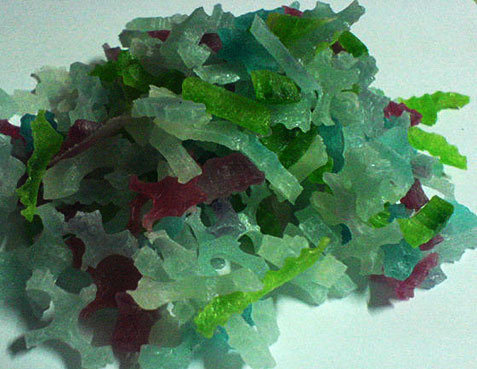
    When I wrote about hantaran agar-agar kering for my niece in 2008, many people commented and asked for the same type of agar-agar. Please be informed that the supplier is no longer making that rose agar-agar kering.

    However through blogging, I found another person based in Bukit Mertajam who makes agar-agar kering for wedding favors.

    agarkering1

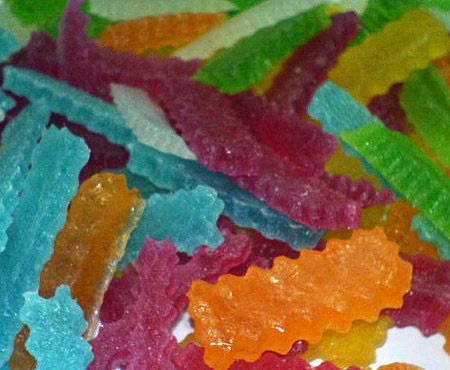
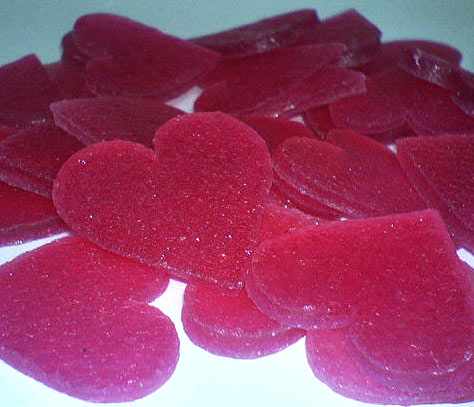
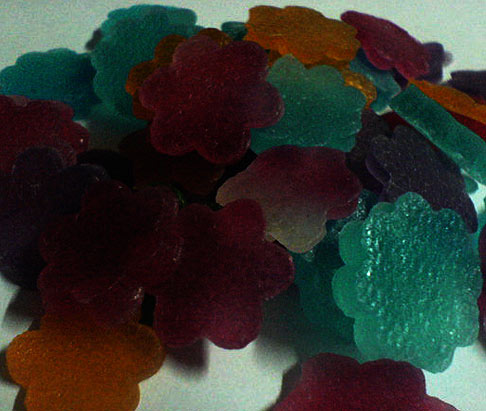
    These are some of the pictures of agar-agar kering she makes.

    agarkering2

    If you are interested, please contact her directly at her blog – AdamShoppe.

    agarkering3

    I’m thinking of ordering some for Hari Raya this year. I have not eaten such delicacy for ages. No one makes kuih muih lama during Hari Raya open house anymore.

    agarkering4

    I am not sure whether she can make agar-agar kering in rose shapes. Will have to ask her one of these days. I’m sure if she can make it, it would be a great idea for gubahan hantaran.


  3. Bunga Dip For Hantaran

    May 14, 2010 by admin

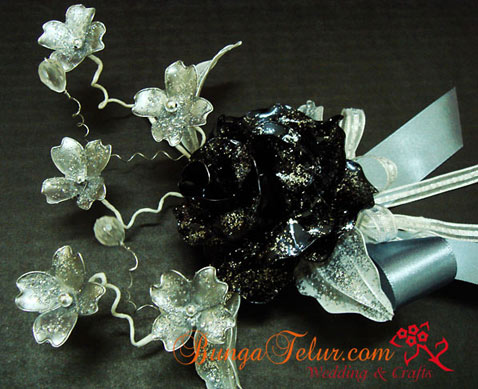
    The picture is not doing any justice to the bunga dip sample I made a few days ago. I am trying to save the whole bottle of dip hitam I bought in January.

    Since I have tried red and black combination earlier, I thought this time I will do black, silver and white combination for this bunga dulang mini.

    silverblackdip1

    For the rose, I tried making the petals curvy by pinching the wire before dipping into the dip solution. I think I prefer the simpler style I taught in class.

    For the glitter effect, I used silver glitter instead of the usual rainbow dust.

    Not really the best sample, but after a long time not experimenting with new creation, this should be a good start.


  4. Decoupage With Crackle On A Bottle

    May 11, 2010 by admin

    It has been more than 6 weeks since I last wrote about the crackle and decoupage project.

    peachtazo

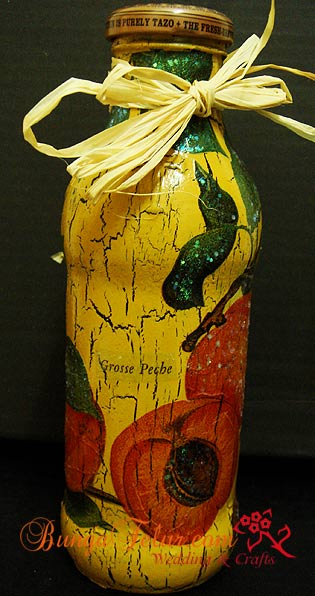
    The bottle which is originally a Tazo Tea with peach flavor has been mailed to the recipient before the dateline of the Gift Exchange. I hope she likes what I’ve done with it.

    I applied Jo Sonja Opal Dust on the peach and leaves motifs, I might have overdo it as you can see the big pearly, greenish dots on the motif in the picture above.

    As always the picture didn’t do any justice. I prefer viewing the real bottle.

    I have another bottle but with white background, thus the crackle effect is not really prominent. Still thinking whether I should repaint that bottle.


  5. Crackled Pink Frame

    April 29, 2010 by admin

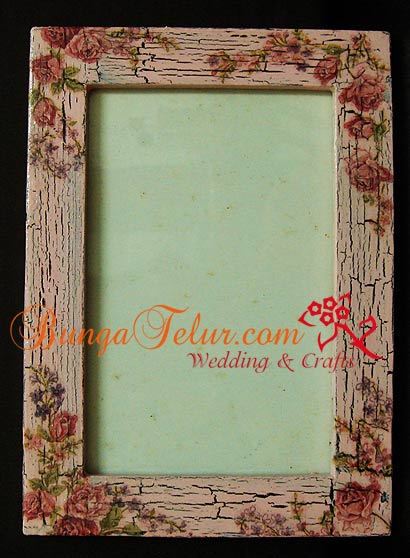
    I kind of love the outcome of this pink frame. It was done for the same exchange gift for a local forum which I have mentioned earlier.

    This time I thought I would try to do crackle on wood. The IKEA frame was bought many years ago, so you can see some aging sign on the paper that covers the back of the frame.

    framepinkV

    I used Jo Sonja carbon black as the basecoat, applied Plaid crackle medium and then used a mixture of 2 tones of pink color from Americana as the top coat.

    The napkin was bought from a seller online. The floral motifs are small and just nice to fit the width of the wooden frame.

    I think I will do another one frame like this for my own use later.


  6. Decoupage Tin Collection

    April 13, 2010 by admin

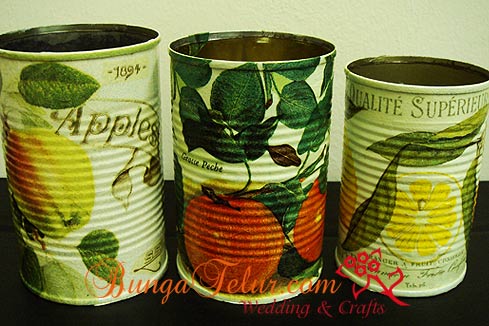
    Remember my previous post about decoupage tin I made – The Apple Tin. Well, I found the first tin I made many, many years ago in one of the craft boxes. It is the one with lemon motif.

    koleksitin

    Now I have one with apple motif, another with peach and the old one with lemon design. There is another work-in-progress for grape motifs.

    I’m not sure how many more of these fruits tin I will making in years to come, but if I find anymore paper napkin with beautiful fruits design that is suitable to add to my tin collection, I will surely make another one..heh!

    If you notice, the one with gloss varnish looks really glossy compared to the other two tins with normal decoupage varnish.


  7. Another Crackle Work-In-Progress Project

    March 30, 2010 by admin

    I am in the midst of completing this crackle project for exchange gift (EG) in one of the local forums. The theme is crackle and decoupage.

    crackbottle1

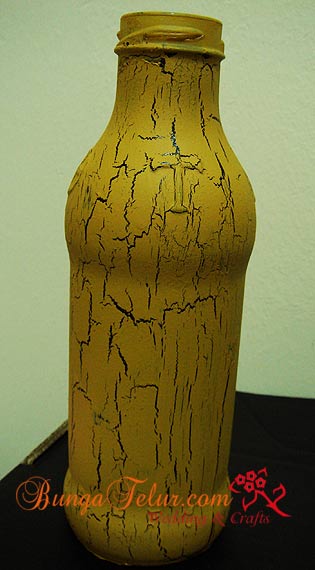
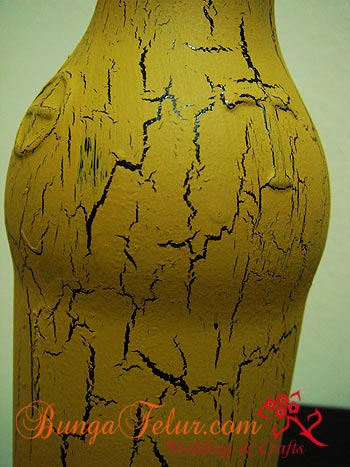
    I think I already mastered the technique of crackle using Plaid FolkArt Crackle Medium. This time instead of the usual white basecoat, I used Jo Sonja Carbon Black.

    crackclseup

    For the topcoat I used Americana Antique Gold. I feel that using a black basecoat makes the crackle more significant. I will share the picture of the decoupage bottle later. Oh, for this glass bottle, I applied sealer to make sure that the basecoat acrylic paint will stick nicely once painted on the bottle surface.


  8. The Apple Tin

    March 25, 2010 by admin

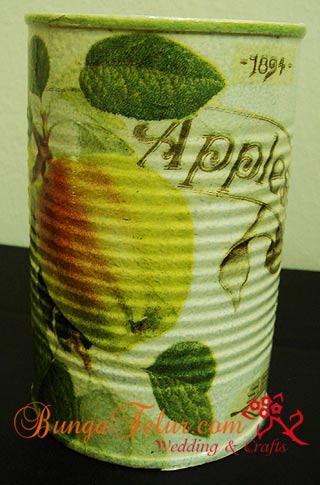
    I finally get the chance to snap and edit the picture of this decoupage apple tin. Well, it’s actually an empty tin of button mushroom, which has been cleaned, sealed and painted with primer.

    appletin

    Remember the previous entry about the paper napkin with apple motifs? Here is the outcome after many days of working on the empty tin.

    For this decoupage project, I used gloss varnish. After about 3 layers of the varnish, it looks really glossy. Actually I thought of applying opal dust on some of the motif, but I was in a rush and put on varnish after the second day of sealing all the paper napkin motifs..isk!

    Maybe I will put on some just to experiment on what will happen if we put the opal dust after we already applied 3 layers of varnish. Will share later once I manage to find the time to do so.


  9. Paper Napkin For Decoupage

    March 15, 2010 by admin

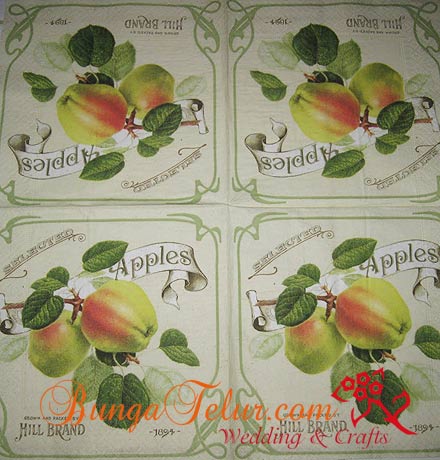
    I love collecting paper napkins, especially one with fruits motif. This is one napkin that I bought from a seller online more than a year ago.

    applenapkin

    I have done decoupage on tins using paper napkins with motifs like peach and lemon. I will share the pictures later. At the moment I am waiting for the work-in-progress tin to dry out so that I can apply the gloss varnish. This apple motif will be added in the fruits collection soon!


  10. Crackle Effect On Wood

    March 1, 2010 by admin

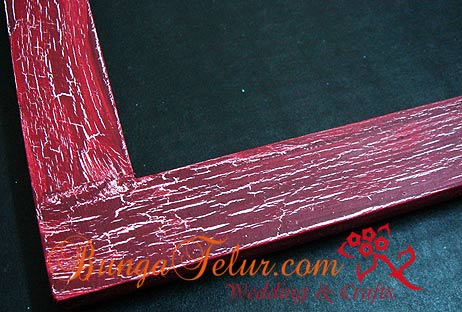
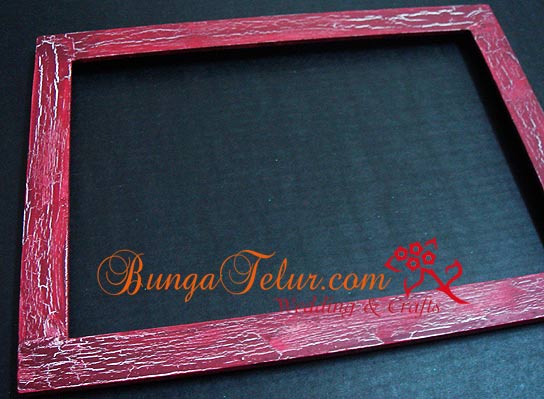
    I finally get it right! After many trial and error, I managed to get the crackle effect I would say that I am happy of. The bottom coat was white gesso. The frame was from IKEA. I sanded, applied sealer and painted with gesso before I used the Plaid Crackle Medium.

    crackle1

    After reading some online tips and watch Youtube on how people apply crackle medium, I tried to follow as much as possible. The crackle medium was applied using thick brush, some in zig zag while some in straight line. If you apply the crackle medium thinly, you will get fine crack. If you apply it thickly, you will get a big crack. I let it dry for almost 2 days before I applied the topcoat in Burgundy Red.

    crackle2

    The topcoat has to be applied at one go. Never stroke your brush too many times over the place that you have painted before otherwise the crackle effect will turn out bad…(based on my experience, I lost the effect of crackle since I stroked the topcoat over and over the same spot too many time..huhu)

    The crackle medium will react with the pigment of the topcoat that you apply on. Some says to use a branded acrylic paint such as Americana (not a cheapo brand) as topcoat to make sure you get a good crackle effect. And another tips to remember, metallic paint won’t work as a topcoat on crackle medium. It is also best that you use a brush that fits the size of the project surface so that you don’t have to stroke on the same place many time.

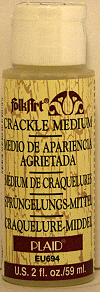
    plaidcrackle

    For those who wonder how the Plaid Crackle Medium looks like, here is the picture. I bought a bottle in Art Friend, The Gardens. I have used Jo Sonja crackle medium before but it didn’t work that well. Maybe my techniques were not right at that time..heh! I will try again and will write an entry if my experiment is successful.

    I will update with the varnished version of the frame later. I hope the tips above will be helpful for those who want to try doing crackle effect on their painted projects.