I was so inspired to make my own scrap fabric flowers after watching youtube video and read the instructions on few craft blogs. I realized long time ago that I am not so good and patient when it comes to sewing but doing a simple fabric flower like this is not so much work, something that could be done in like 10 minutes or so.
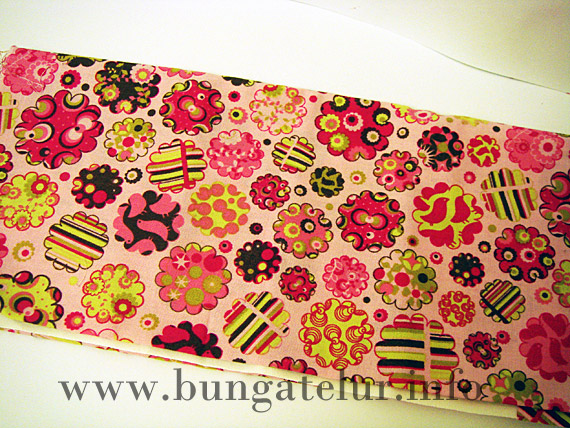
I tweeted and asked where I could get good cotton scraps. A crafter friend, Tini of SnazzynSuch recommended for me to check Kamdar or Nagoya but later she dug her stash of fabrics and offered to sell me some..hehe!
This is American Cotton and it is such a joy to sew with it compared to cottons I bought from the nearest Kamdar. I couldn’t get any scrap pieces from the shop, the least amount they will sell to you is 1/2metre.
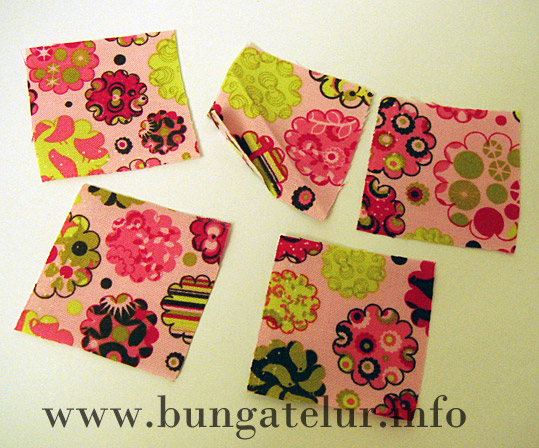
First you need to cut 5 squares out of the scrap fabric. I think mine were 6 x 6cm. You can experiment with different size since the bigger square you cut, the bigger petal your flower will have. It depends on what you want to do with the end product. If you were to use on cards and scrapbook layout, I think 6x6cm squares will be good enough as it will produce a flower with 6cm diameter in size.
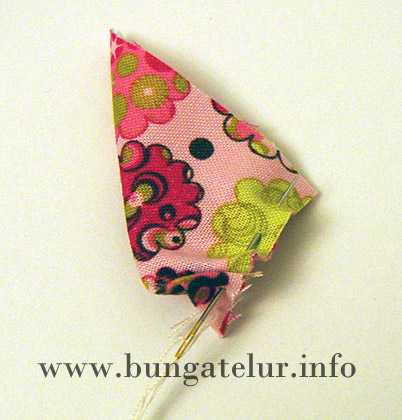
The first step after you have cut the square is to fold it into triangle. The right side of the fabric design should be up. Get ready with your thread and needle and start sewing from the most left edge of the triangle.
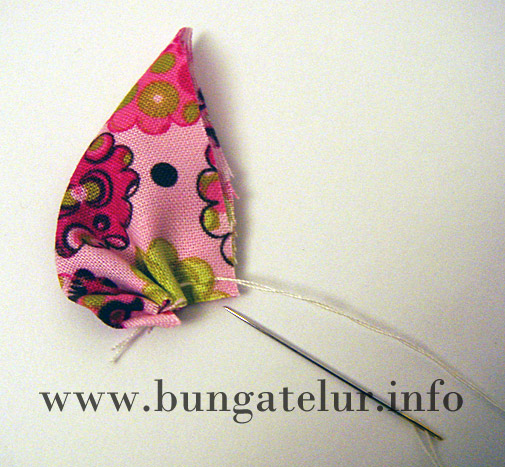
When you have come to the next triangle edge, pull the thread and you can see that the petal shape has started to emerge.
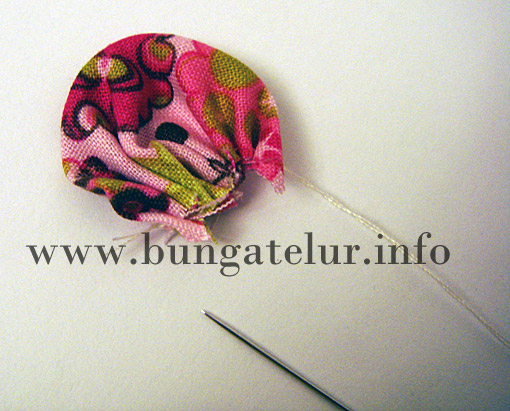
Continue stitching along to the next edge. You don’t have to stitch very tight and neat, just enough to bind the fabric together so that you can pull the thread later.
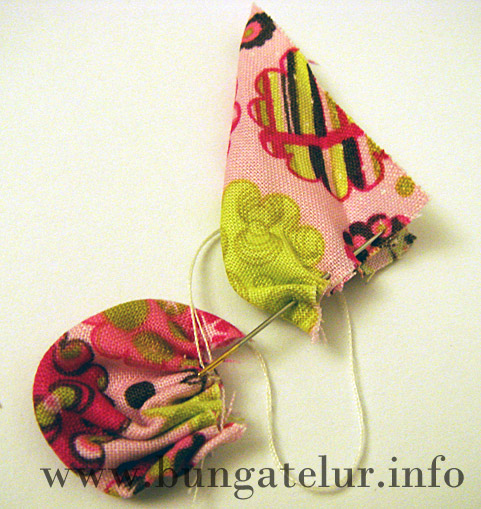
Once you have completed the first petal, continue stitching with the second triangle.
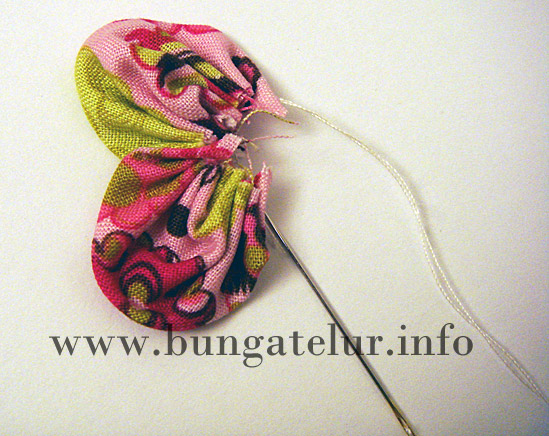
This is how it will look like once you have completed two petals. Continue stitching all the 5 petals.
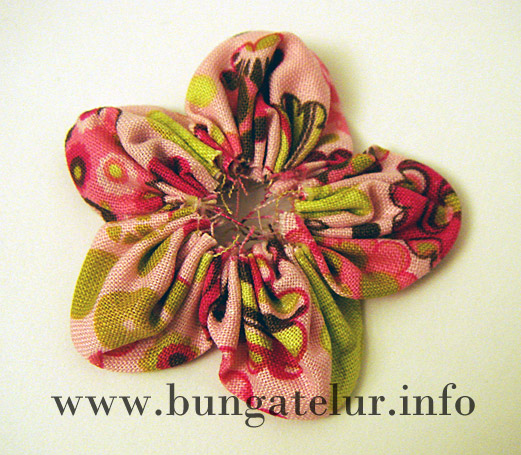
Once you have completed the 5th petal and tie the knot on the thread (I turn the flowers and tie the knot at the back), you will find out that there will be a hole in the middle of your completed flowers. You can use button or even another flower like crochet flower to layer on top of the hole.
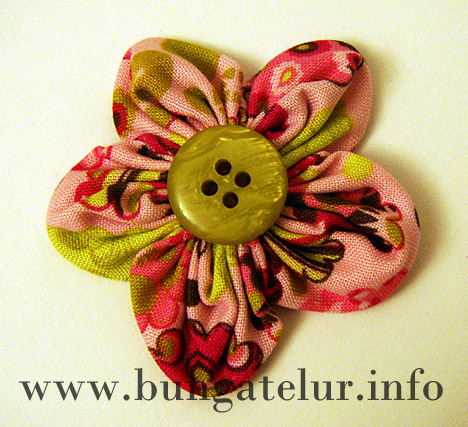
For this particular flower size, I have to use a button with diameter 25mm to cover the hole. I usually use Glossy Accent to glue the button. Not sure whether hot glue gun will work as well. Will try with different type of adhesive to see what work best.
Oh, you can also use paper or cardstock cut into round shape to be glued at the back of your completed fabric flower if you were to use it as embellishment on scrapbook layout or cards. But if you were to use this fabric flower as embellishment on bag, headband or hair clip, then you won’t need to use the paper backing suggested.
If you manage to make your own fabric flower after reading this short tutorial, I will be very happy to see the picture of your handmade fabric flower or simply read your comment about it.
