RSS Feed

    Kelas Asas Decoupage April 2018

    BungaTelur.com akan mengadakan kelas untuk mempelajari teknik decoupage di atas pinggan seramik/cermin kayu. Semua bahan akan disediakan. Hasil kerja boleh dibawa balik.

    Jadual kelas adalah seperti berikut:

    Tarikh: 29 April 2018, Ahad

    Masa: 2:00 - 5:00 petang

    Yuran: RM80

    Tempat: Puchong (lokasi akan diberitahu kepada peserta yg serius)

    Terhad kepada 6 peserta

    Sesiapa yang berminat, sila email ke [email protected], atau sms/wa ke nombor 012 6482121 untuk maklumat lanjut. Peserta digalakkan membuat tempahan awal kerana tempat adalah terhad.

    Untuk melihat contoh decoupage yang dihasilkan oleh peserta kelas sebelum ini, sila lawati http://news.bungatelur.com atau laman Facebook BungaTelur.com

  1. Crochet Flower On Felt Hair Clip

    September 12, 2010 by admin

    All these 3 hair clips were no longer in my possession. I gave them away to family and friend as Hari Raya gift.

    I made them a few weeks ago in the attempt to try all sort of patterns and different type of thread and yarn I bought earlier.
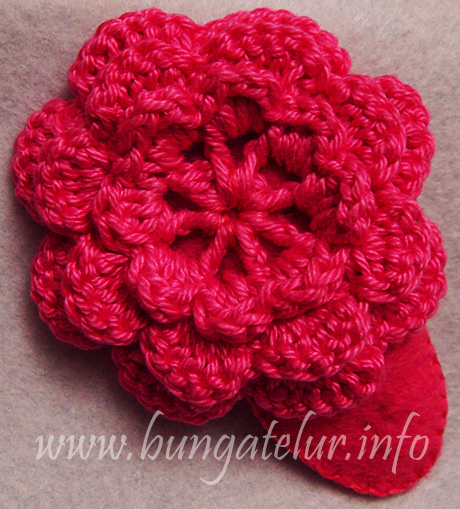
    allpinkclip1

    The pink yarn was bought in Subang Parade for about RM30 per skein. Expensive, huh? If only I live somewhere where yarns are available in massive choices and not that expensive. It would be nicer if I could buy a few different tones of pink yarns. I could crochet the second and third layer of the flower with different shades of pink instead of one tone.

    I tried using pink felt as the hair clip cover. The result looks monotonous since the cover is the same tone as the flower..huhu!
    butterflyclip1

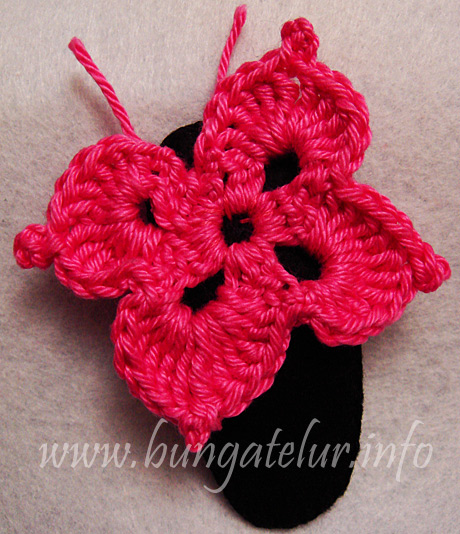
    Then I found a pattern for butterfly. This time I made the hair clip cover in black felt so that whoever wears this will look as if she has a big butterfly fluttering on her hair since the black felt will blend in with her black hair.

    However I sew the butterfly wrongly. The antenna of the butterfly should be facing downward so that when you put the clip on your hair, the butterfly will be facing up. Lesson learned!
    pinkroseclip1

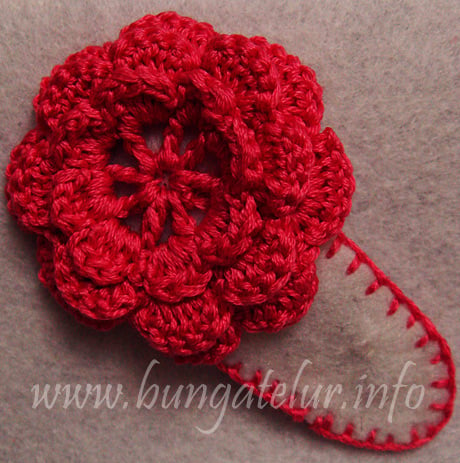
    For this flower pattern, I used embroidery thread like the one people use for cross stitch. It was quite hard to crochet since the thread is very fine compared to the usual yarn I use for crochet. I will not be using those kind of floss to make crochet flower anytime soon..heh!
  2. Crochet Flower With Button

    August 18, 2010 by admin

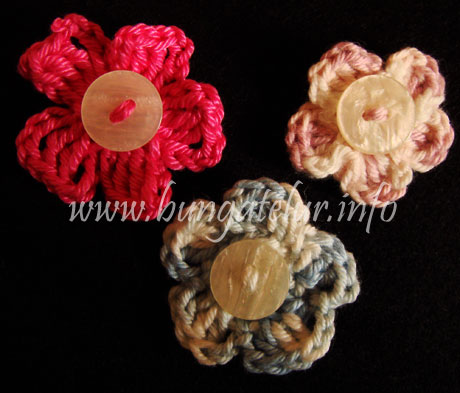
    I managed to get buttons when I went to Daiso at The Curve last 2 weeks.

    I know I could get more varieties for buttons if I go to sewing materials shop but it would mean that I have to go to KL for such purpose..huhu! The nearest will be in Taipan USJ but then it will be a hassle to find parking spot.

    So here is the result after I sew the buttons on the crochet flowers.

    flowerbutton

    I am not sure what I want to do with these flowers. The initial plan is to make bookmark or tag and embellish it with the flower but at the moment I don’t have plain cardstocks to do so. It will take some time for me to sort out my collection of patterned papers of cardstock quality that is suitable with those flowers.


  3. The Crochet Rose

    August 7, 2010 by admin

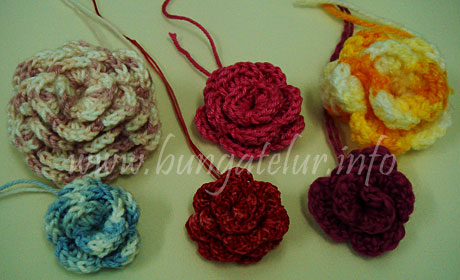
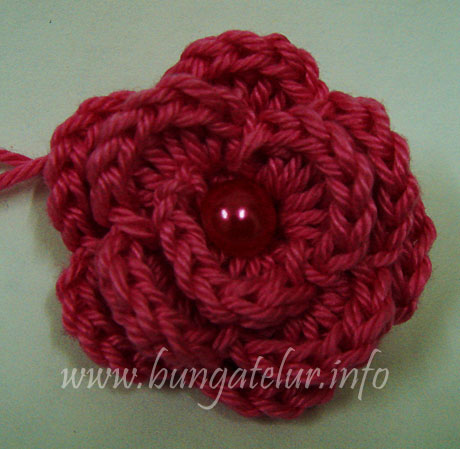
    I managed to try crocheting roses..yeay! Have been experimenting with all the yarns I have, some are OK, some could be worse..haha! But still it does look like a rose. If only those people who share the instructions online would be generous to mention what type and brand of yarns they used…but even then I am not sure if I can get those brands in Malaysia.

    BTW, the red one was crocheted using DMC Babylon No.10 (which was bought earlier for tatting) and it was tedious as it is almost like crocheting using thread instead of the bulky yarn.

    crochetroses

    This one is crocheted using the most expensive yarn I have in my possession. Went to the shop in Subang Parade and the lady there suggested me to buy this ball of yarn, which costs me RM30. But it is good for crochet as the yarn doesn’t turn furry.

    darkpinkrose

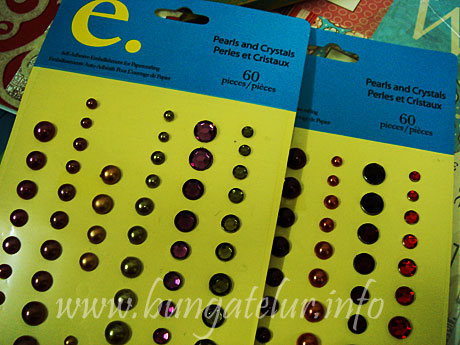
    Oh, since I replenished some embellishment for my scrapbooking and card making, I decided to make use of the Prima Crystals and Pearls just for decoration purpose.

    primapearls

    If I were to use the crochet rose later on bags, headband or sun hat, I might have to sew round pearl in the centre of the rose instead of using the self adhesive pearl. But that would be another project to tackle. For now I still need to practise all the basic stitches I learn like double crochet, treble crochet, slip knot etc.


  4. Papier Blog Contest

    July 15, 2010 by admin

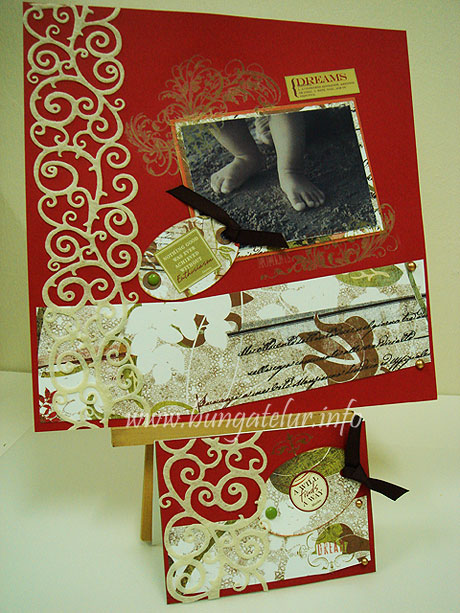
    Finally, I managed to submit the layout and matching card for Papier Blog Contest.

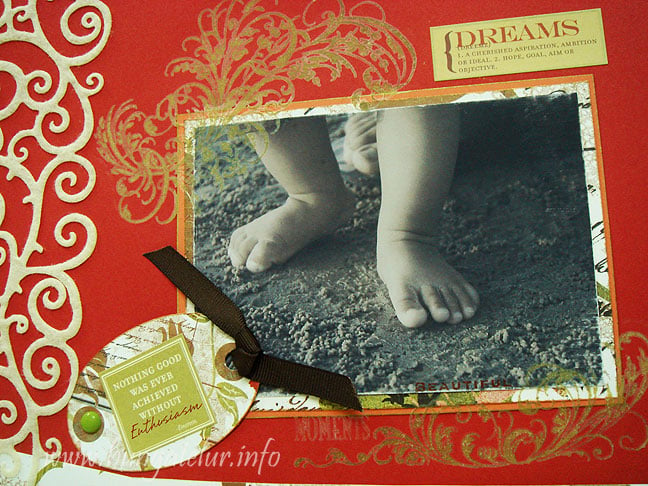
    It doesn’t do justice to the scrapbook layout by posting a small picture on this blog, (you can’t see the details clearly – the sentiment, the rub on, embellishment etc) but alas, what can I do..should find another blog template with wider space for entry.

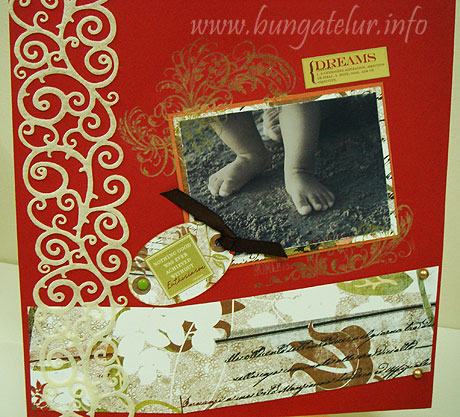
    I used most of the scrapbook stash I bought pre-baby years, which was like 3-4 years ago. I felt so ancient for using those vintage products – self adhesive felt, patterned paper Scarlet Letter by Basic Grey, K&Co rub on, stickers by 7 Gypsies..haha! The only new things I used for this contest (which were bought recently) are the green brads and self adhesive pearls.

    papier1

    When I chose the picture of my son’s feet, my first thought was to write the sentiment ” A journey of a thousand miles begins with a single step”. The picture was taken the first time we brought him to the beach almost a year ago. He has just learned to walk that time, how time flies as now he can run everywhere.

    papier11

    But as I struggled to complete the layout, I realized that entering this contest is more like fulfilling my dream and nurturing the passion of craft I have inside. I almost gave up today since I couldn’t find the time to come out with the masterpiece.

    It’s not easy being a mother to a high-need, spirited kid. Only those in the same shoes will understand. No matter how much enthusiasm I have inside, I wouldn’t be able to realize my dream of entering this contest without the support of my husband. Both of them went out for about 2 hours and left me in the craft room to think hard and come out with this layout peacefully.

    papier2

    Just as a mother would be proud and beaming in joy to see her son takes his first step, I am so proud to present you this scrapbook layout.

    papier3

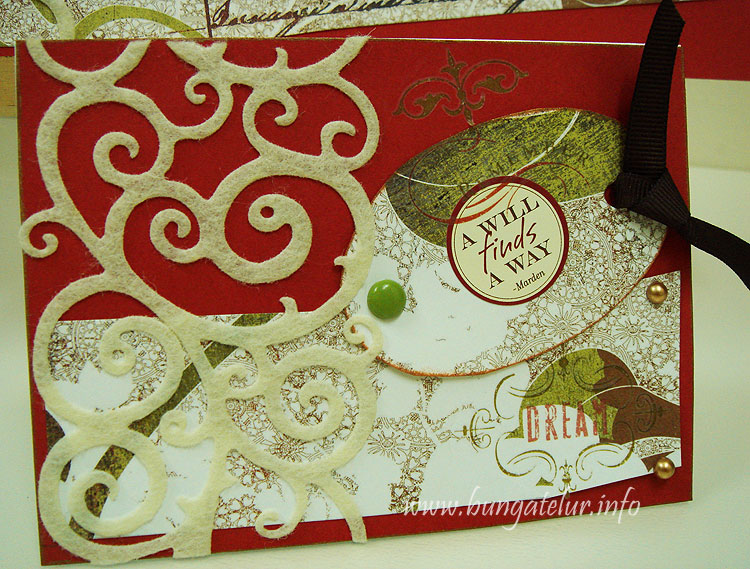
    For the matching card, it doesn’t take long to do it as I already have the sketch in my mind after doing the scrapbook layout.

    This card will be sent to a close friend in Japan who recently lost her beloved mother. She is doing her post graduate study there and couldn’t make it home to her mom’s funeral. I chatted with her a few weeks ago and encouraged her to be strong and do her best to complete her study.

    I believe each and everyone of us has challenges in life to overcome. A strong will is what we need to find the way out.


  5. Bunga Telur Bunga Stokin

    June 28, 2010 by admin

    Over the year, I have been asked by many interested students whether I will conduct any class for bunga stokin.

    bungasiett2

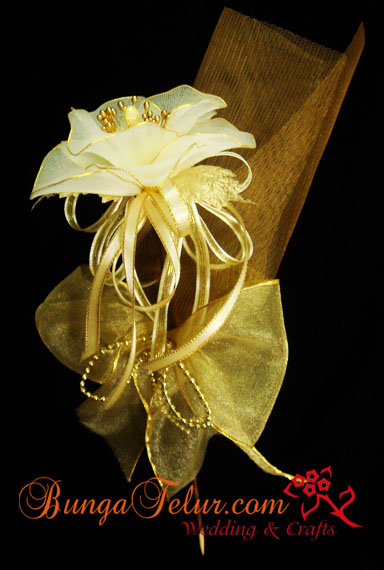
    So after going through the materials I have, I decided to teach any interested students for bunga stokin class on 17 July 2010 this type of bunga telur.

    bungatelur

    I will also do demo on how to make kipas organza (in case anyone still interested to do that kind of bunga telur), how to tie the ribbons into bow and how to do bunga telur gantung.

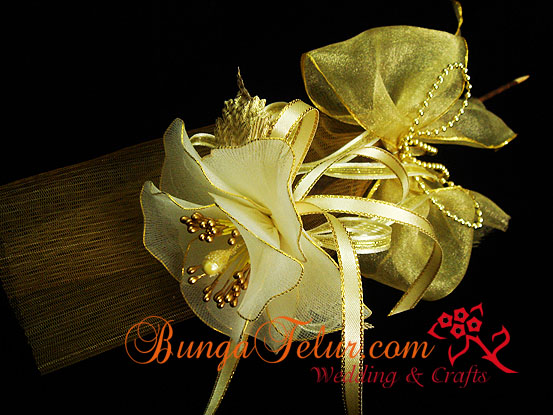
    On the practical part, the students will do bunga telur on bamboo stick like in the above picture and make butterfly from stokin. I am thinking of making the butterfly into corsage instead of teaching them to do bunga dulang mini.

    Come and join the class on 17th July as it is limited to 6 students. This is the first bunga stokin class I will conduct for the year 2010.


  6. Scrapbooking Allsorts Blog Candy

    June 17, 2010 by admin

    blogcandy4

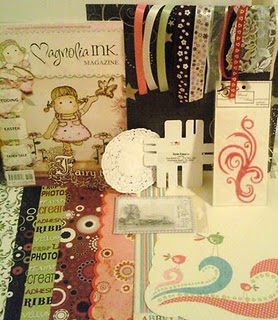
    Attention to all papercrafters out there! There is a blog candy held by Scrapbooking Allsorts at the moment.

    All you have to do is:

    1. Show this candy on your blog
    2. Upload your latest papercraft project – scrapbook layouts, off the page projects or cards, whatever it is you are doing now.

    Entries close June 30th at 10pm.

    Oh, I would love to have that Magnolia Ink magazine..hello Tilda!


  7. A Birthday Card

    June 17, 2010 by admin

    bdaycard1

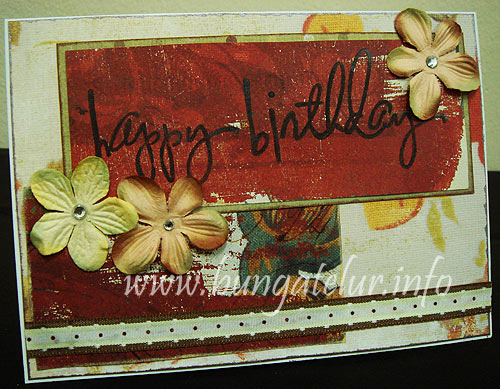
    After almost 2 years of not doing any card, I decided to take part in a blog candy ran by Shirl Leong at her blog Craftee Guiri in conjuction with her husband birthday this coming 28th June.

    Thanks to her blog I found another blog candy ran by Scrapbooking All Sorts – which ends on June 30th. Since the requirement is to submit any latest papercraft project, I think this birthday card will do for a start.

    At first I wanted to make an easel card, but after searching through all the materials I have, I found a pack of unopened blank cards. Those white blank cards are 5 1/2 x 4 inch once folded..(which I think is quite small, as I rather love getting a bigger card)

    Anyway, once I have completed the card, I realized that I should have put eyelet brads on the happy birthday sentiment before I attach it to the background..huhu!

    Here are the recipes:

    Paper : Daisy D No.13, My Mind’s Eye Signature Suite- World of Play, Dotted Play/Ring Around The rosy, Wild Asparagus

    Stamp: Heidi Swapp Happy Birthday

    Versa Magic Chalk Ink – Midnight Black, Thatched Straw

    Brilliance Pigment Ink – Pearlescent Crimson, Coffee Bean

    Prima flowers, ribbon, clear rhinestones, Memory Book Glue Dots, Supertac Glue


  8. Callie’s Creative Corner

    June 16, 2010 by admin

    Another blog candy that I am participating! Just trying my luck this month, especially since I have not indulged myself with any scrapbooking and card making stuffs for such a long time.

    This Callie’s blog candy is on till 19th June. So, hurry up and join the list of her followers.

    blogcandy2

    What I am interested on are the Tim Holtz Timeworks Mask, Glimmer Mist and Cuttlebug Embossing folders since those are the items that I have not bought before.

    My all time favorite item when crafting is ribbon. Just hope that somehow luck is on my side!


  9. Blog Candy At Particraft

    June 15, 2010 by admin

    blogcandy1

    Particraft Ltd is running a blog candy! They will draw the winners when they reach 900 followers. At the moment I am their 864th follower..heh!

    Their blog candy includes six A5 stamp sets, a non stick craft mat, a large 200ml container of clear Ultra Thick embossing powder, a Tim Holtz grungeboard set, crystal lacquer five colour set, distress ink, black archival ink pad, a large bottle of clear crystal lacquer, a distress crackle paint, an Adirondack ink pad, Cosmic Shimmer embossing powder set, Cosmic Shimmer watercolour set, a mounted stamp, cosmic shimmer glue, and fancy pants buttons.

    Those are the items that I still don’t have in my scrapbooking and cardmaking stash, so now you know why I am so keen on winning. Let’s join the fun, and who knows you might be the lucky one!


  10. Tatting

    June 7, 2010 by admin

    I was reading a fellow crafter’s blog when I saw a pretty butterfly she tatted. I’ve never heard about tatting before so I browsed and read through whatever I could find online about tatting.

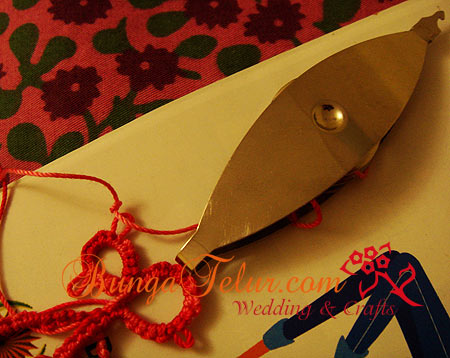
    First of all, you need to have a tatting shuttle. So a trip to Art Friend the other day made me bought a shuttle by DMC. Later I found out that there is another shuttle brand Clover sold at Maycraft. The shop is located in Taipan USJ. Will be visiting the shop one of these days..heh!

    tattingshuttle

    The funny part was once I bought the shuttle and a ball of thread, I have no idea how to wind the thread onto the bobbin. It took me the whole night to figure out that you can actually push the bobbin from the middle of the shuttle out, wind the thread and push it back inside the shuttle..huhu!

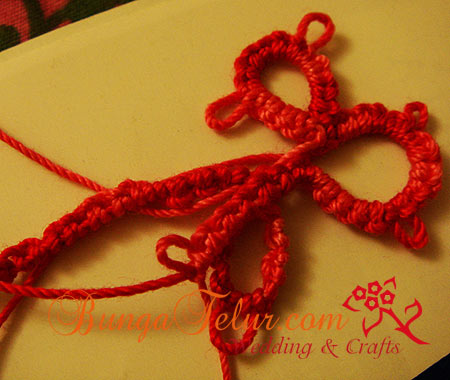
    And it took me another 2 days to figure out how to do the basic of double stitch, a picot and a ring.

    tatting1

    Somehow it is harder when you are self taught. I usually will go for a basic class for any new art and craft that I want to learn. It is easier when you have an instructor to ask every time some doubt or confusion arises.

    Despite that I am thankful that there are many tatters out there who are willing to share via blog and videos on Youtube. I hope once I have mastered the basic techniques of tatting, I would be able to share in this blog so that other beginners in tatting will not waste so much time like I did learning the basic.