RSS Feed

    Kelas Asas Decoupage April 2018

    BungaTelur.com akan mengadakan kelas untuk mempelajari teknik decoupage di atas pinggan seramik/cermin kayu. Semua bahan akan disediakan. Hasil kerja boleh dibawa balik.

    Jadual kelas adalah seperti berikut:

    Tarikh: 29 April 2018, Ahad

    Masa: 2:00 - 5:00 petang

    Yuran: RM80

    Tempat: Puchong (lokasi akan diberitahu kepada peserta yg serius)

    Terhad kepada 6 peserta

    Sesiapa yang berminat, sila email ke [email protected], atau sms/wa ke nombor 012 6482121 untuk maklumat lanjut. Peserta digalakkan membuat tempahan awal kerana tempat adalah terhad.

    Untuk melihat contoh decoupage yang dihasilkan oleh peserta kelas sebelum ini, sila lawati http://news.bungatelur.com atau laman Facebook BungaTelur.com

  1. Bunga Songket For Centerpiece

    July 30, 2011 by admin

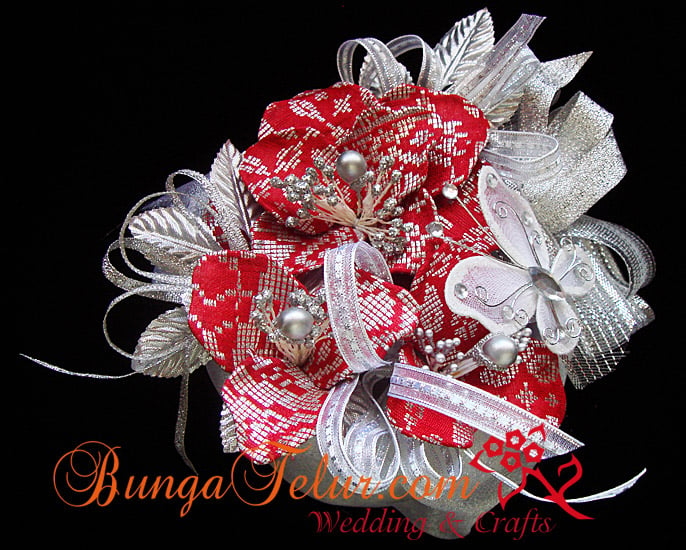
    For the past 2 weeks I have been working on this bunga songket flower for cocktail table centerpiece. An event management person contacted me and asking whether I could make bunga songket arrangement for the proposed event.

    Since I have never made floral arrangement with custom made bunga songket before, I was interested to try my hand on that.

    The only songket I have in stock is this red one which I bought intentionally for my son’s majlis akikah and cukur jambul (which we haven’t had the chance to do).

    I have learned a lot from making this centerpiece arrangement. Even though in the end I didn’t get the order for the event, at least now I know something new about floral arrangement. Next thing I want to try making hand bouquet using bunga songket.
  2. Lollipop On The Headband

    July 21, 2011 by admin

    Remember my previous few posts about these fabric rosettes which look more like lollipop?

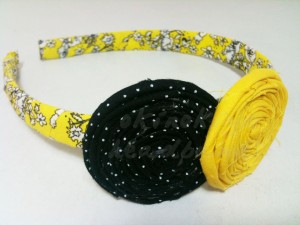
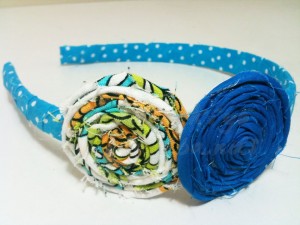
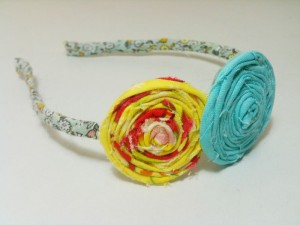
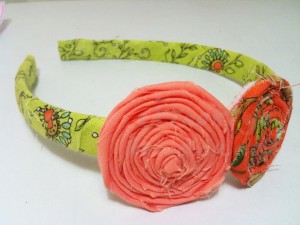
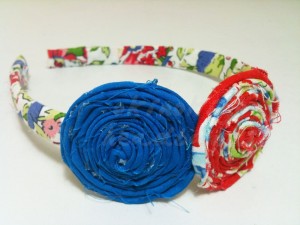
    My friend Mai of Okinokiyo Shop has managed to use the fabric lollipop as embellishment on fabric wrapped headbands. This is how each unique headband looks like.

    Luckily she has a lot of fabrics that could be matched with the rosettes I made because when I made them, I have no idea what the end product will be like.

    I just notice that I didn’t make more in green varieties. Well, I just bought more fabrics last weekend and I have made sure there’s green based cotton (both plain and printed) among the stack.

    My personal favorite is this yellow and black combination. Unfortunately I have no daughter and my two grand nieces are still too young to enjoy being pretty..huhu!

    For those who would like to have this one of a kind headband for Hari Raya, kindly visit the Okinokiyo Shop on Facebook. I’m not sure whether she has advertised this on their official blog.

    Oh, for those who are brave and stylish enough, you can even wear this headband on top of your hijab/tudung..especially if you are wearing those shawl like Hana Tajima or Yuna..just some idea to style up your clothing.


  3. Fabric Rosettes That Look Like Lollipop

    July 18, 2011 by admin

    I have been working on these colorful fabric rosettes diligently last week to the extend of falling sick..huhu! Actually I have not been feeling very well the week before but I thought I won’t succumb to the flu and fever season as many have fell into.

    Anyway, the fabric rosettes which look more like a lollipop were actually made for Okinokiyo.com. She used them to embellish the headbands and fabric yoyo brooch for Urbanscape 2011 held yesterday.

    I was not able to go to Urbanscape this year as I have craft class in the afternoon and as usual I won’t be having enough sleep the night before due to anxiety of oversleeping thus lack of energy to continue doing anything else after the class has finished.

    Well, maybe next year I could go and see in person what’s the city’s all-day creative arts festival is all about.

    Coming back to the subject of these fabric rosettes, I am planning to make them into hair clip.

    From previous year’s post Hari Raya feedback, most of my friends with daughters told me that their kids prefer to wear hair clip than crocheted headband.

    OK, friends’ daughters..let see how many fabric rosette hair clips this Aunty could make to be given away during the coming Hari Raya open house..haha!


  4. Pixie Dust Paperie July Giveaway

    July 4, 2011 by admin

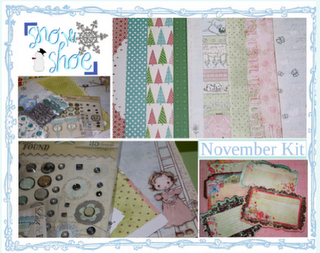
    People, people!! Pixie Dust Paperie is giving you a chance to win this lovely Pixie Kit – Snow Shoe November Kit just for helping them spread the word about them!

    All you have to do for a random drawing entry is:

    1. Become a follower of Pixie Dust Paperie if you haven’t yet – get one chance

    2. Post on your blog about this giveaway with a link back to them, go back to this page – Pixie Dust July Kit preview and tell them about your post and you’ll get another chance.

    This giveaway will run from 30 June till 18 July. A winner will be selected randomly and announced on 20th July at The Pixie Blog.

    Come one scrappers and cardmakers, who knows you might be the lucky one!!


  5. Assorted Color of Fabric Rosette

    June 15, 2011 by admin

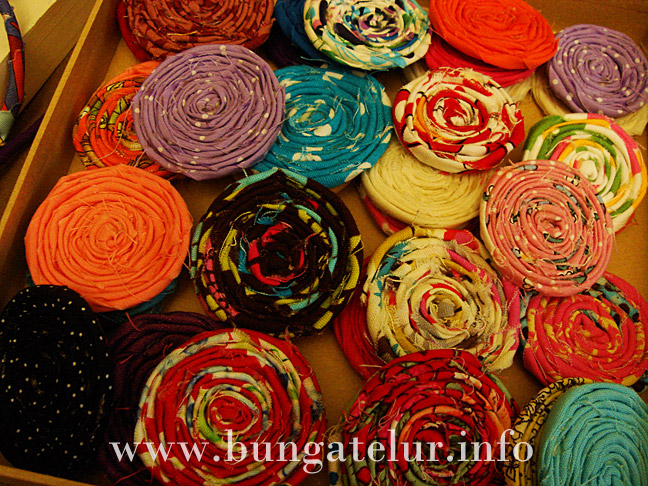
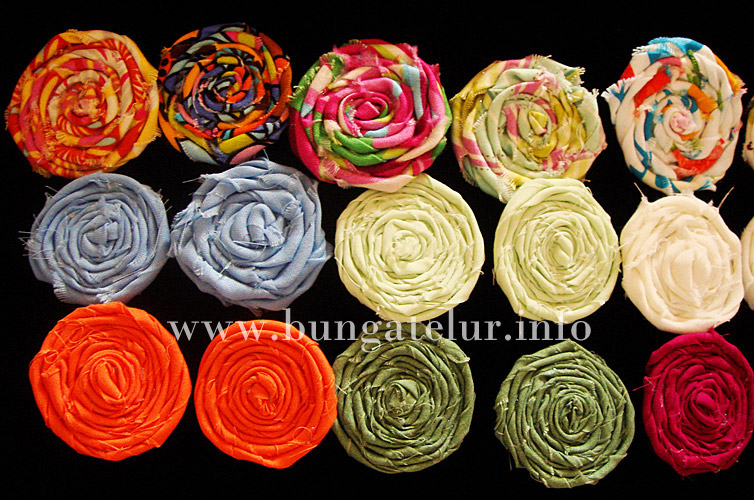
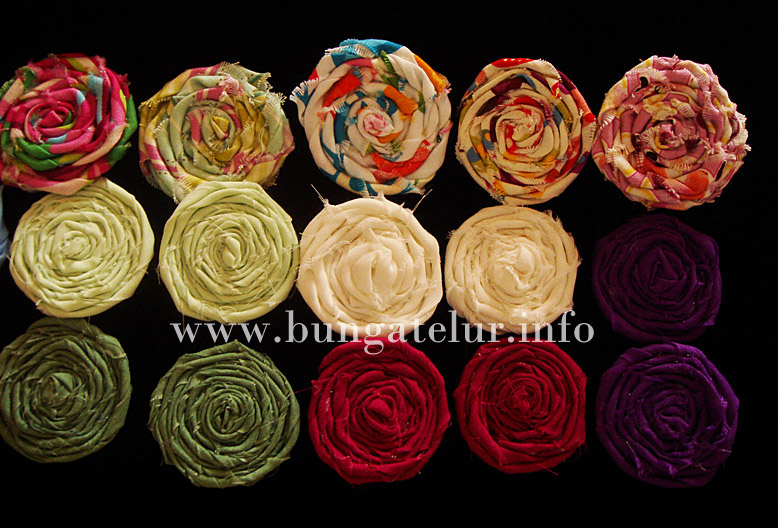
    After a few more trial and error attempt with glue gun and improving the technique on how to roll and turn the fabric strips, I managed to make better rosette as shown in these two pictures. The printed one are made from designers cotton, scraps I bought from Okinokiyo.com.

    Next I will incorporate these rosettes in cardmaking and scrapbook layout. These rosettes are quite flat and not as bulky as some flowers available in the market. I don’t really mind having a textured embellishment on layout but the problem will come later when I want to store it.

    If only we have greater choice in Malaysia when it comes to shadow box, and cheaper one as well.

    If you are using this on cards, I think you will need to custom made the envelope to fit the bulky part of the fabric rosette. And of course you need to pay extra for the postage.

    Oh, these rosettes are available for sale since I don’t think I will use all of them on my creations as much as I get addicted making them. Those interested to buy kindly leave comment and your valid email address and I will get back to you.


  6. Better Fabric Rosette

    June 8, 2011 by admin

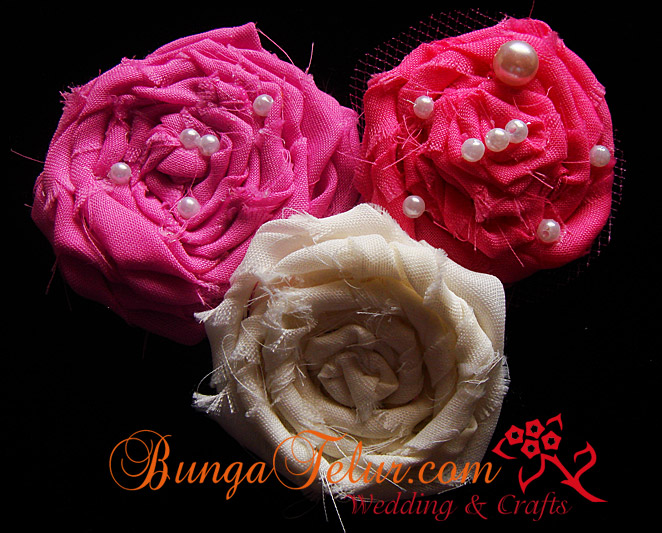
    After watching a few more videos on how to make fabric rosette, I think I finally get the concept of rolling and turning the fabric into rosette. After the third attempt, I can see the different it makes in the correct technique. Check out the one in white. Compare that with my first attempt of rosette (in previous post), the one in purple is more like folded rose than rolled rosette.

    I still couldn’t get Fabri-tac anywhere. The only option is to buy online on ebay, which will cost me almost RM80 for 8oz after currency conversion and postage from US to Malaysia..huhu!

    For the one in mauve, I used glue gun to adhere the fabric. As usual with glue gun, I burnt my fingers and it got me really pissed off..huhu! Oh, I tried putting small pearls on 2 of the fabric rosette just to see how it will look like. I also use felt on the bottom of the rosette, in case I want to use these handmade flowers for my cardmaking or scrapbook layout later.

    Maybe I should just make these fabric rosettes and sell them as craft supply for those who need to embellish their handmade products like hat, headband, tote bag or even cards and scrapbook layout. What about 3 pieces for RM5? haha..(that if I can get Fabri-tac anytime soon)


  7. More Fabric Flowers

    June 3, 2011 by admin

    Mai of Okinokiyo.com forwarded a URL on how to make fabric rosette last week. The problem is I don’t really have much choice when it comes to fabric. My craft work for the past few years consists of tulle, organza and ribbons, but hardly fabric.

    It is also hard to get fabric glue where I live. Yes, there are many multi purpose glue in the market that could be used to attach two pieces of fabric, but after years of crafting I learned that using the right tools will usually make your task easier and the outcome is more satisfying.

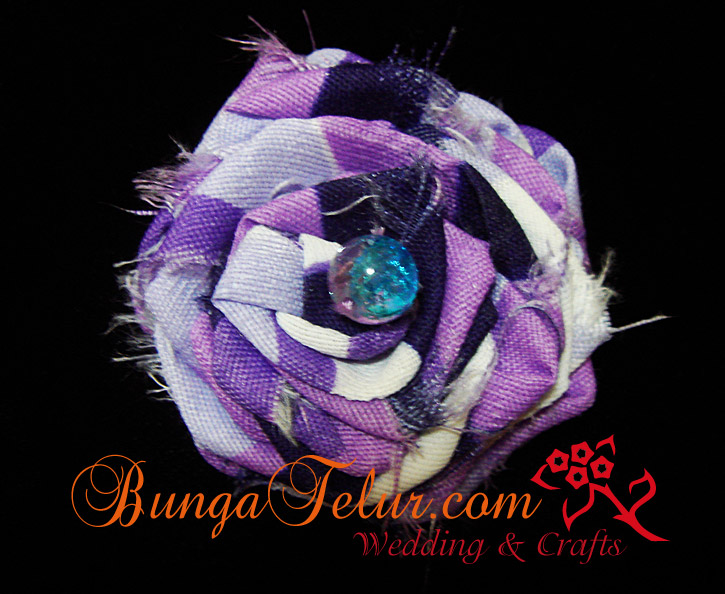
    In the end I just use some cheap fabric I bought earlier in Kamdar and Glossy Accent as substitute for fabric glue. Since I was so lazy to go to the messy craft room to find a suitable size of bead or pearl to be sewn in the middle of the rosette, I just used one of the Czech glass beads I have in the room. I bought those beads to be used as part of my crochet bookmark (which has not been used so far, guilty as charged for being a hoarder..haha!)

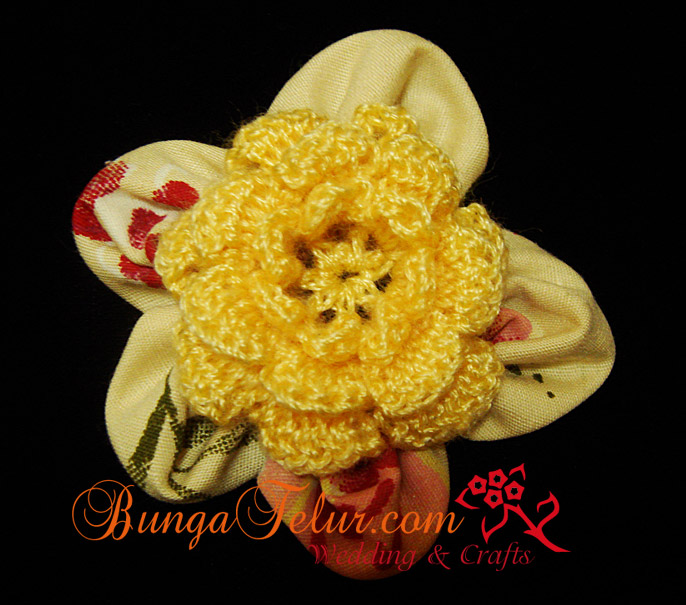
    Anyway, my personal favourite for fabric flower is still this sewn 5 petals flower, which I have shared the tutorial earlier. This time since I don’t have a big button that is suitable to be put in the centre, I decided to stack a crochet flower on top of the fabric flower. Err..why do I think I need to get more choice of colors for crochet threads?


  8. FOR SALE : Bunga Pahar Stokin Cream Gold

    June 2, 2011 by admin

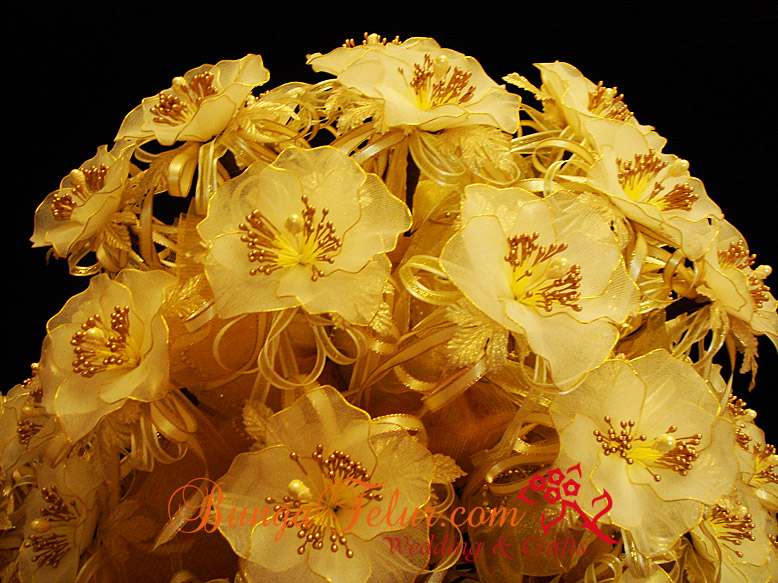
    I have 100 pieces of bunga pahar stokin in cream and gold color theme for sale.

    Price per piece is RM8.00. If you are buying 100pcs and paying by cash, it will be RM750.

    Payment by credit card is also accepted via PayPal. However the price for 100pcs will be RM800 since PayPal charge me 3%.

    Minimum purchase of 50pcs (for one pahar) will be fine as well. These bunga telur have been completed recently as I need to clear up stock of materials in my craft room.

    Any serious buyer, kindly contact me via email [email protected] or sms/call 012 6482121.


  9. Pixie Dust Paperie Giveaway

    June 1, 2011 by admin

    Calling all the scrapbookers and card makers out there!!

    This is your chance to try your luck to win this gorgeous kit from Pixie Dust Paperie.

    This giveaway will run from 31st May – 18th June and the winner will be announced on 20th June on the Pixie blog.

    What you have to do for the chance to win the kit is to be their follower at Pixie Dust Paperie blog.

    Or if you want another chance (like I do!!) you can post about this giveaway and link back to them.

    Just imagine what a great creations you could make with such wonderful Pixie December kit.


  10. Decoupage On Plate

    May 31, 2011 by admin

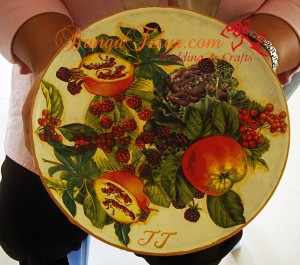
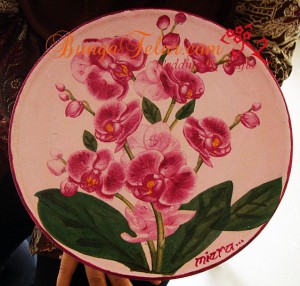
    It has been a while since I conducted decoupage class. This time I couldn’t get the usual mugs I used for past class. I ended up buying plates.

    The good thing is the participants have many space to pour their creativity to cut and paste down the decoupage napkin.

    (Please click to view bigger image)

    2 of them even signed their initial on their decoupage plates. I helped one to do shading on her plate. Since there was ample time I let them do lining around the plate.

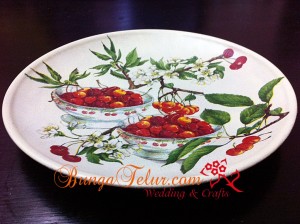
    This picture of plate with cherry design was taken by the participant herself and emailed to me later. I forgot to snap the picture while in class as she was the first person to finish and went home..hehe!

    Next time I think I will incorporate writing sentiments on the plate for those who are interested to do so. Time to scout and print some great wording suitable for home decor..heh!